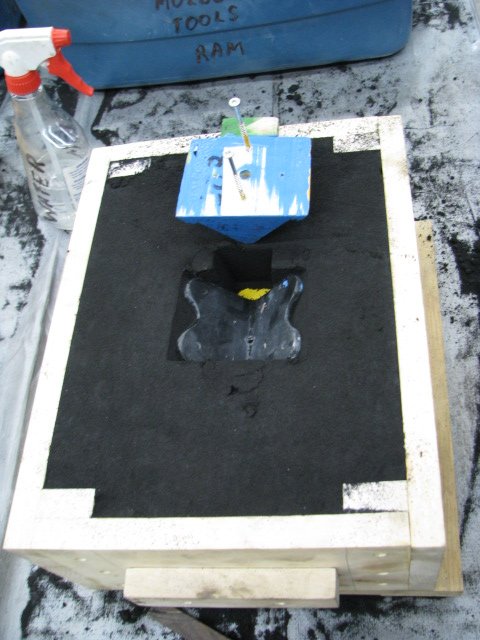
- Main Pattern (painted black with yellow core prints)
- "False pattern" (painted blue)
- "False core print" (unpainted)
- Wing-nut bolt (painted blue)
- Main sand core (irregular shape)
- Wedge-shaped core print (Loose triangle-shaped piece of wood with the top chopped off)
The following are the suggested steps for creating the green sand mold:
1) Place the blue false pattern face down on the drag.
2) Place the black-and-yellow main pattern on top of the blue false pattern
3) Fill and ram, etc the drag with green sand.
4) Turn the drag over to expose the top of the blue false pattern
5) Using the two screws provided, remove the blue false pattern from the drag.
6) Depending on the height of the alignment pins in the drag, the clearances between the cope and the drag may be very close. In order to allow for a better clearance, cut a triangular piece out of the drag as shown in the photo below.
7) Place the unpainted wedge-shaped core print into the drag on top of the exposed yellow core print
8) Place the cope on the drag. Fill and ram, etc the cope with green sand.
9) Lift cope off of the drag. Cut in sprues, gates, risers, etc.
10) Rap and lift out the unpainted wedge-shaped core print.
11) Insert the blue wing-nut bolt into the threaded hole in the bottom of the yellow-and-black main pattern.
12) Rap and remove the yellow-and-black main pattern.
13) Finish off the rest of the mold, etc.
14) Insert the main sand core
15) Insert the wedge-shaped sand core
16 Finish off the rest of the mold, etc


No comments:
Post a Comment