Making The Wax Patterns
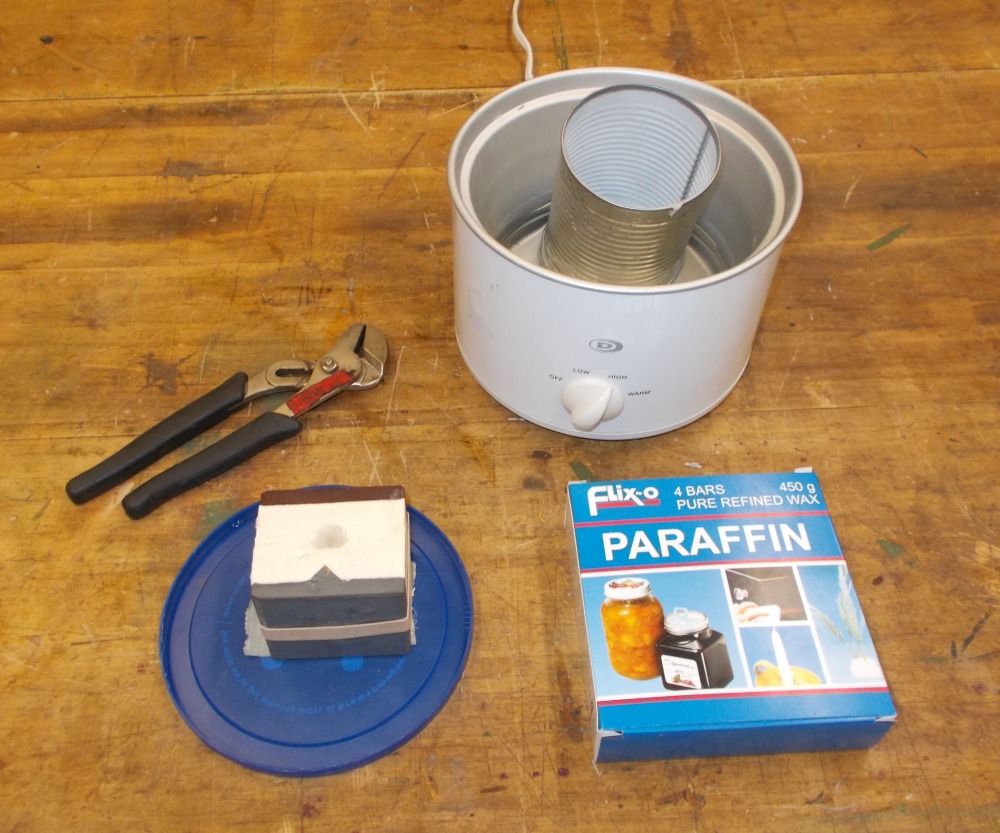
A trip to the grocery store and we had some paraffin wax that we could melt. Wax should NEVER be melted by direct heat or flame! Very hazardous! A trip to the local Sally Ann and we picked up a rice-cooker. For our melting pot, a tin can rescued from the recycle bin did the job.
Poured about 1" water into the rice cooker, plugged it in. Placed a chunk of paraffin wax in the tin can, placed it in the water and let things heat up. After 15 minutes or so, we had molten paraffin wax. This is VERY hot so be careful!
 |
| Getting Ready For Pouring Wax |
While the wax was melting, we put some duct tape over one end of the rubber mold. A large rubber band kept the four pieces (the two mold-halves and the two mold boards) tightly together. Just in case we had some accidents, we placed the mold assembly into a large plastic lid (from one of the DHC's large cans of Folger's coffee).
Using some angled gas pliers, we lifted the tin of molten wax out of the rice cooker and slowly poured the wax into the top of the mold. Make sure you are wearing safety glasses for this part! Molten wax can splash.
 |
| Pouring Wax |
We let the molten wax cool for at least 30 minutes as the centre of the mold would still be liquid. As the wax cooled, the wax in the sprue started to shrink. This is normal as wax expands when liquid but shrinks when it turns solid.
We then removed the rubber band and slowly pried the two halves of the rubber mold apart. Voila! A perfect wax replica of our pattern. Now to make a whole bunch more.
Mounting The Wax Patterns
Now that we have our wax patterns made, we next have to mount them on a central wax sprue.
No comments:
Post a Comment